How to Make Boho Macramé Fringe with SilverSilk Knitted Leather Chain
We love macramé! Make a colorful knotted keychain or earrings using SilverSilk Knitted Leather Chain and braided nylon cord. In this video tutorial, Nealay guides you step-by-step, with tips for making neat knots and using SilverSilk Double-Strand End Caps. Follow the pattern to create a vibrant keychain, or make duplicates for eye-catching earrings! Check out the video guide to see the knots in action.
Want to learn more about SilverSilk Knitted Leather Chain? Find the education page here: https://www.silversilkonline.com/knitted-leather-chain
Materials:
4in length of limoncello SilverSilk Knitted Leather Chain
Two SilverSilk Double-Strand End Caps
One SilverSilk Lobster Claw Clasp
Two SilverSilk Jump Rings
Four 10” lengths of 1.8mm multicolor braided nylon cord
Optional: For earrings, duplicate the materials and add 2 SilverSilk Earring Wires for earrings
Tools:
Flush Cutters: Use these to cut your SilverSilk Knitted Leather Chain.
Wubbers Nylon Flat-Nose Proline Pliers: These pliers are perfect for securely attaching SilverSilk findings without scratching them.
Scissors: You’ll want a sharp pair of scissors for a tidy trim to your macramé cords.
Watch this video to learn about the tools I recommend using with SilverSilk: http://silversilkonline.com/recommended-tools
Macramé Keychain Video Tutorial
Macramé Keychain, Written Step-By-Step Guide
Step 1: Creating SilverSilk Macramé Hoops
Begin by cutting a 4-inch length of SilverSilk Knitted Leather Chain. Insert the ends of the 4-inch cut of Knitted Leather Chain into each side of the SilverSilk Double-Strand End Cap. Use chain-nose pliers to close the end cap over the chain ends.
Step 2: Preparing Your Cords for Macramé
Cut four 10-inch lengths of 1.8mm braided cord. Many cord types will be beautiful to use for this step. We are using a 1.8mm braided nylon cord. If you want to substitute cord for this project, we recommend choosing the same (or similar) diameter of 1.8mm.
Step 3: Securing the Braided Cord to the SilverSilk Knitted Leather Chain Hoops
Make a lark’s head knot to tie each of the four strands of 1.8mm braided cord at their midpoints onto the Leather Chain hoop we created in Step 2. For each strand, fold it at the midpoint, forming a loop. Bring the ends together over the chain and through the cord loop. Do this for all four strands. Center the four strands together on the hoop. You should now have eight, beautifully dangling strands of approximate equal length.
Step 4: Positioning the Left-Side Holding Cord
Select the left-most strand of braided cord. This strand will be your holding cord. Diagonally lay it across over the next three cords heading toward the center; these three cords will be the working cords.
Step 5: Tying the First Double Half Hitch Knot
Starting with the left-most working cord, bring it over the holding cord, forming a loop. Next, bring that strand under the holding cord and through the loop you’ve just created. Tighten to nestle this new knot against the lark's head knot, then repeat this step one more time with the same cords, finishing the first double half hitch knot.
Step 6: Tying the Remaining Double Half Hitch Knots for Left Side
Select the next working cord. Repeat Step 5 with this cord, tying a double half hitch knot to the same working cord as Step 5. Repeat this step again with the third working cord.
Step 7: Double Half Hitch Knotting the Right-Side Cords
Identify the right-most strand and lay it diagonally over the next three cords, heading towards the center. This will be the holding cord. The three cords it is laying across will be the working cords. Working from right to left, with each working cord, tie a double half hitch knot to the holding cord.
Step 8: Joining the Center Cords
You should now have the two holding cords located in the center. Each set of three working cords for the sides will fan out left and right away from the center. To join the center holding cords, bring the left side holding cord over the right. Use the right side to tie a double half hitch knot onto the left cord. This new knot sits in the center and looks like the bottom point of a heart shape. You’ve got this!
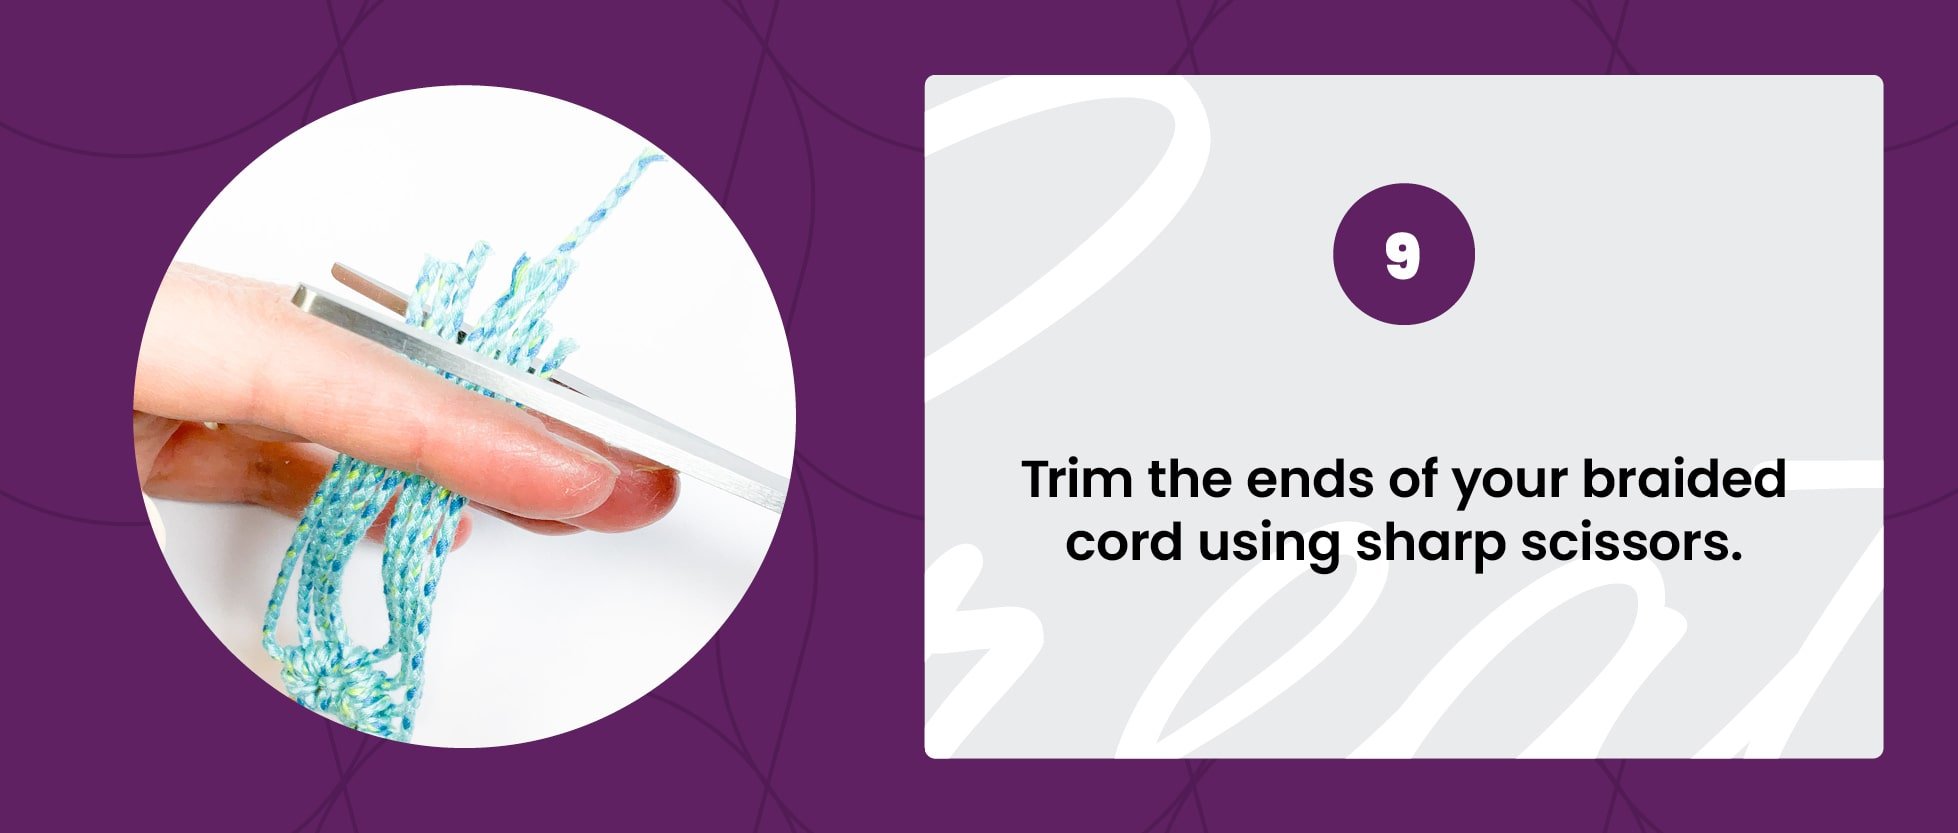
Step 9: Trimming the Braided Cord Ends
For a tidy look, use sharp scissors to trim the ends of your braided cord.
Step 10: Finishing the Design
To create a keychain, use a SilverSilk 6mm jump ring to link the loop on your Double-Strand End Cap to a SilverSilk lobster claw clasp. Optionally, you can fasten your lobster claw clasp to a 25mm hoop or similar, creating a lovely purse strap embellishment.
Make yours twice as nice! To make earrings, simply link your SilverSilk earring wires to the loop on each Double-Strand End Cap.
Conclusion:
We hope you have enjoyed tying knots on your SilverSilk! Try other cords and colors of SilverSilk Chain to express your style and achieve new looks. Be sure to check out the video tutorial for this design and remember to like and subscribe to the SilverSilk and More YouTube Channel.
Follow us on social media for updates, behind-the-scenes, and more:
Youtube • Instagram • Facebook. • The SilverSilk Virtual Community
Get text notifications:
Text “hello” to +1 (918) 233-6387


