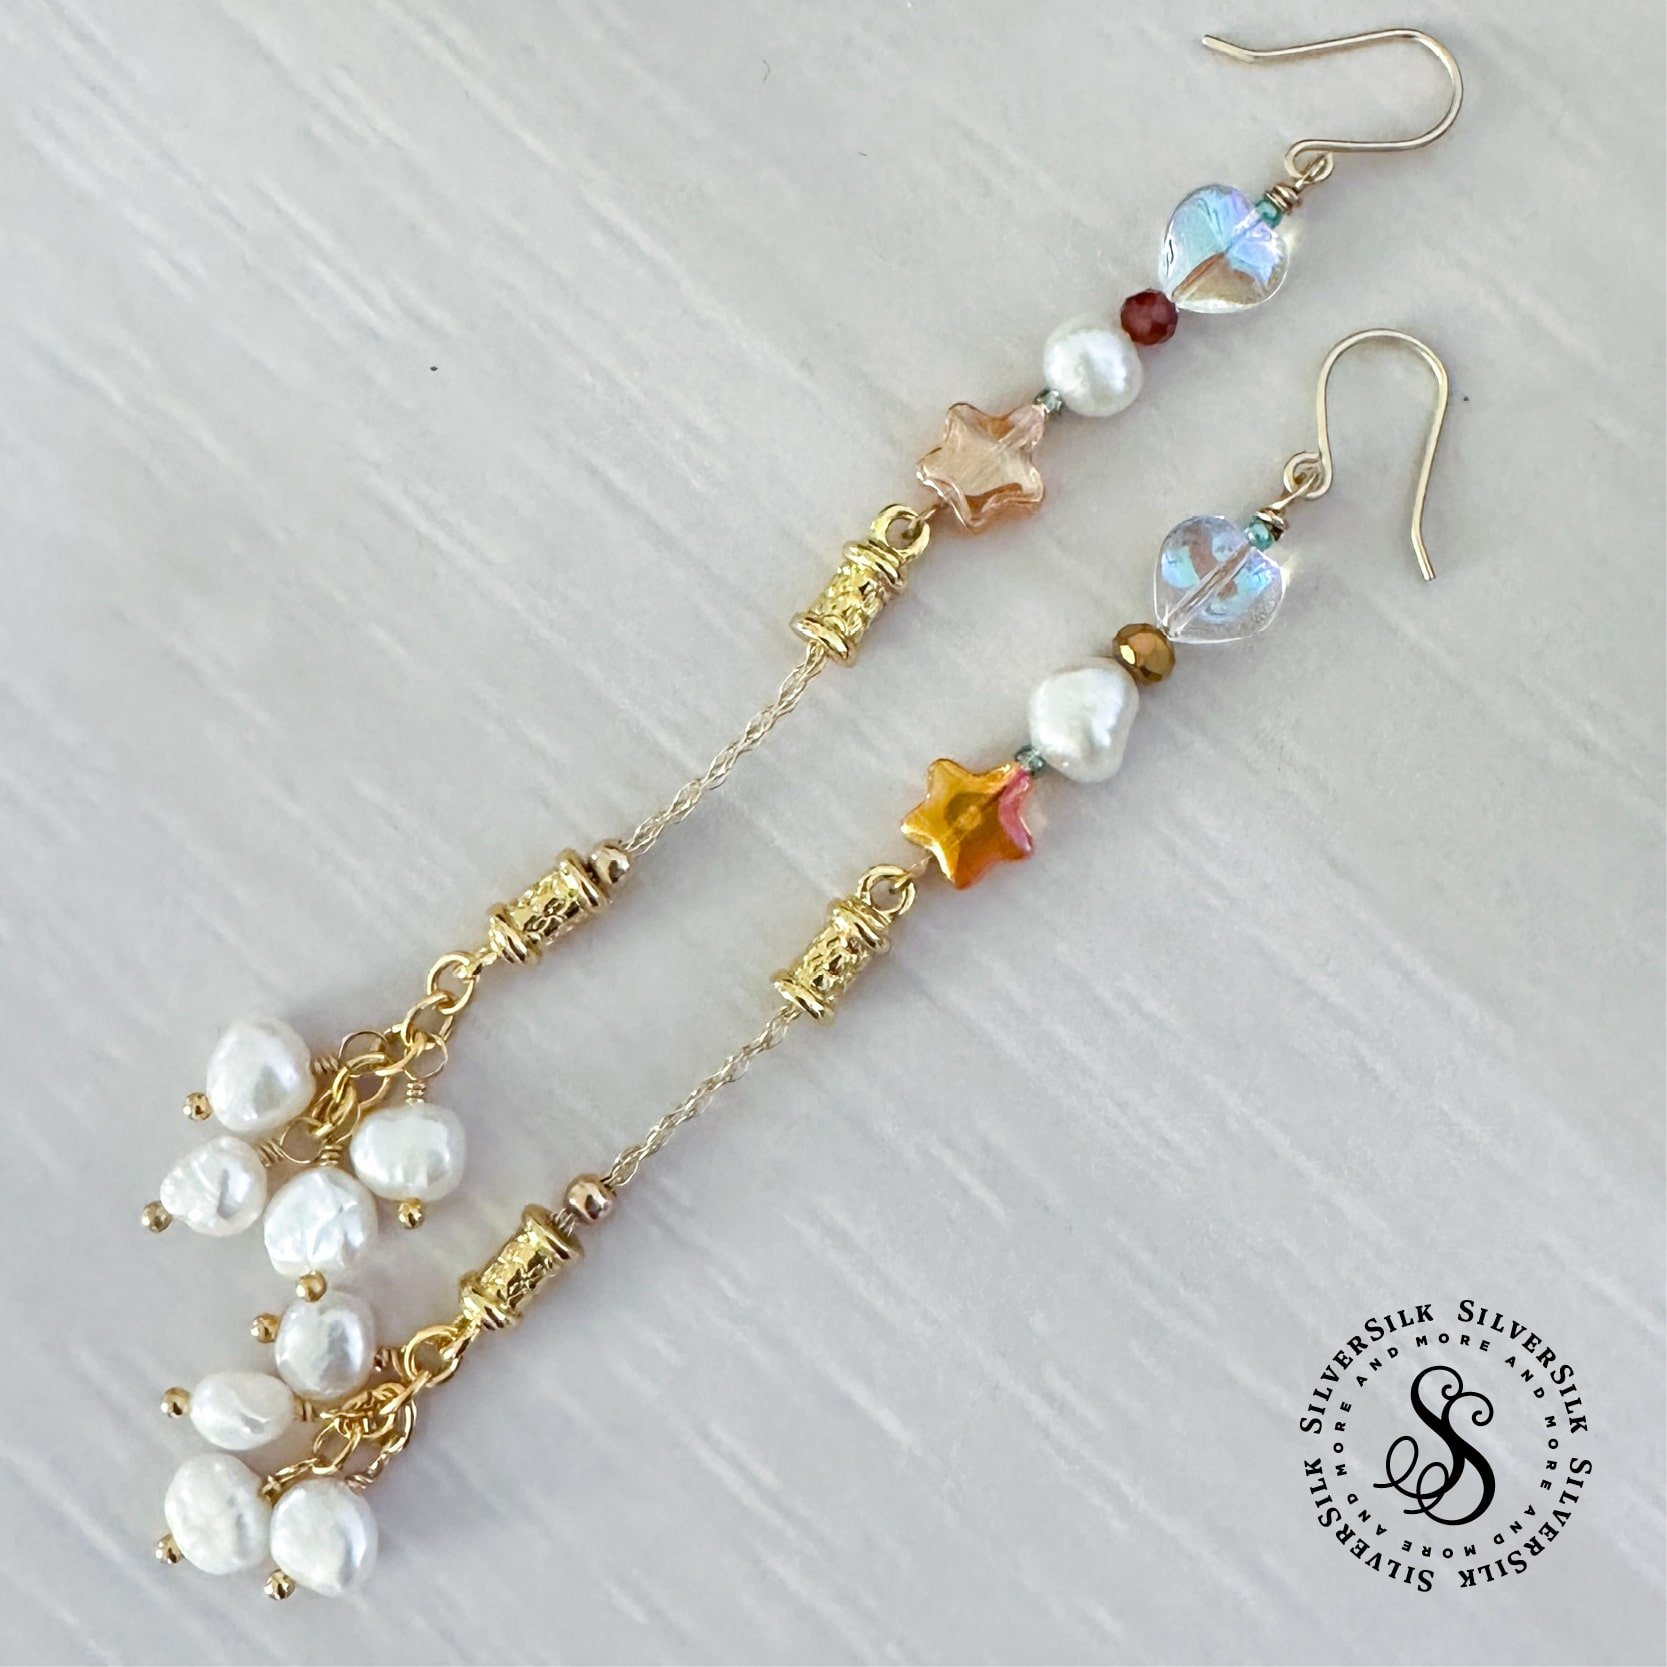
How to Make Dangle and Drop, Pearl Earrings
Trending now and always in style, you will love this spin on classic pearl earrings. Create a shoulder-duster style suspended from gorgeous, 3-Needle Chain. Follow along each step, in video form as well as written steps below, to create your own stunning pair of earrings!
Before we dive into the magic, let's gather our tools and materials:
Tools:
Cutters (Lindström Tools): Flush cutters will help you make precise cuts to your 3-Needle Chain
Chain Nose Pliers (Wubbers Tools): Ideal for opening simple loops and jump rings, as well as tucking tails in wrapped loop coils
Round Nose Pliers: Essential for forming round loops
Loctite Glue: To secure your 3-Needle Chain into the 2mm Cord Caps
Materials:
2.5in • SilverSilk 3-Needle Chain, Gold
10 • 4mm Jump Rings, Gold
2 • 2in Eye Pins (approx. 21-gauge)
8 • 1in Pearl Head Pins (24 or 22-gauge should work – test your pearls for fit)
10 • Freshwater Pearl Beads (or any beads, 5mm or similar)
6 to 8 • Decorative Beads in various sizes (sample used 11/0 seed beads, 4mm beads, 5mm pearl beads, and 6mm glass beads)
Optional: 2 • Crimp Covers, Gold
Dangle and Drop, Pearl Earrings Video Tutorial
Dangle and Drop, Pearl Earrings Written Step-By-Step Guide
Step 1: Creating a 3-Needle Chain Connector
Cut two lengths of 3-Needle Chain, each measuring 1.25in. You can read more about 3-Needle Chain with this link. Glue each end of 3-Needle Chain into a 2mm Cord Cap.
SilverSilk 2mm Cord Caps are the perfect size finding for use with dainty, 3-Needle Chain. The cord caps are made with the same, best-in-industry, five-layer plating that will match your other SilverSilk findings.
Place a small dot of Loctite into the 2mm Cord Cap. Carefully insert the end of 3-Needle Chain into the cap and hold for 5 seconds. Repeat for the second earring. Set aside and allow to dry.
Step 2: Creating Beaded Eye Pins
Select an assortment of beads and string them onto an eye pin. Above the top bead, form a simple or wrapped loop with your round nose pliers. If you decide a wrapped loop is the way to go for this project, simply trim the extra wire with your cutters and use chain nose pliers to tuck it into the wrapped loop. Repeat this step for the second earring. Tip: You can use orphan beads and make a mismatch pair. This style is trending right now!
Step 3: Creating Eight Pearl Dangles
Using a 24-gauge head pin, string one pearl and form a wrapped loop above it using round nose pliers. Trim and press down the tail using cutters and chain nose pliers. Create eight pearl dangles in total and set them aside.
Step 4: Creating Pearl Chain
Open a jump ring and connect one of your pearl dangles, then go ahead and close the jump ring. Open another jump ring and connect one pearl dangle, then link to the last jump ring and close. Repeat this twice more, so you have a total of four linked jump rings, each with a pearl dangle on it. Go ahead and make another chain like this for your second earring.
Step 5: Linking the Pearl Chain to the 3-Needle Chain Connector
Open another jump ring and link the top jump ring from your Pearl Chain to the 2mm Cord Cap of your 3-Needle Chain Connector. After you close the jump ring, you’ll see that the pearls are intended to suspend from the 3-Needle Chain Connector which creates a beautiful juxtaposition of scale and visual balance between the delicate chain and cluster of pearls. Repeat this step for the second earring.
Step 6: Attaching the Beaded Eye Pin to the 3-Needle Chain Connector
Use a pair of chain nose pliers to open the eye pin loop from Step 2 where you made the Beaded Eye Pin. Connect it to the top of your 3-Needle Chain Connector using the top loop on the 2mm Cord Cap. Repeat this step for the second earring.
Step 7: Finishing Touches
Open the loop of your Earring Wire using chain nose pliers and connect it to the top loop of your Beaded Eye Pin. Tip: If you made a wrapped loop that is too small for the ball on the Earring Wire, you can string it over the front of the Earring Wire, around and down onto the loop. Repeat this step to finish your second earring and complete the full set.
Variations: You can add interest elements to the 3-Needle Chain by closing a crimp cover bead over the chain. It may slide to the bottom and sit above the cap, adding visual interest.
Tip: If you prefer an Earring with less length, you could place less beads on the eye pin at Step 2, or, skip the eye pin all together and simply go from the Earring Wire to your 2mm Cord Cap top loop of your 3-Needle Chain Connector.
Conclusion:
Enjoy the classic beauty of pearls in this modern, shoulder-dusting style! We hope you'll watch the video and try making these dangly treasures for yourself or for someone you love. Be sure to check out the video tutorial and hit the thumbs up if you enjoyed it. And do subscribe to our YouTube channel if you want to see more tutorials from us!
Follow us on social media for updates, behind-the-scenes, and more:
Youtube • Instagram • Facebook. • The SilverSilk Virtual Community
Get text notifications:
Text “hello” to +1 (918) 233-6387


