

How to Make a Rainbow Bracelet with Capture Chain
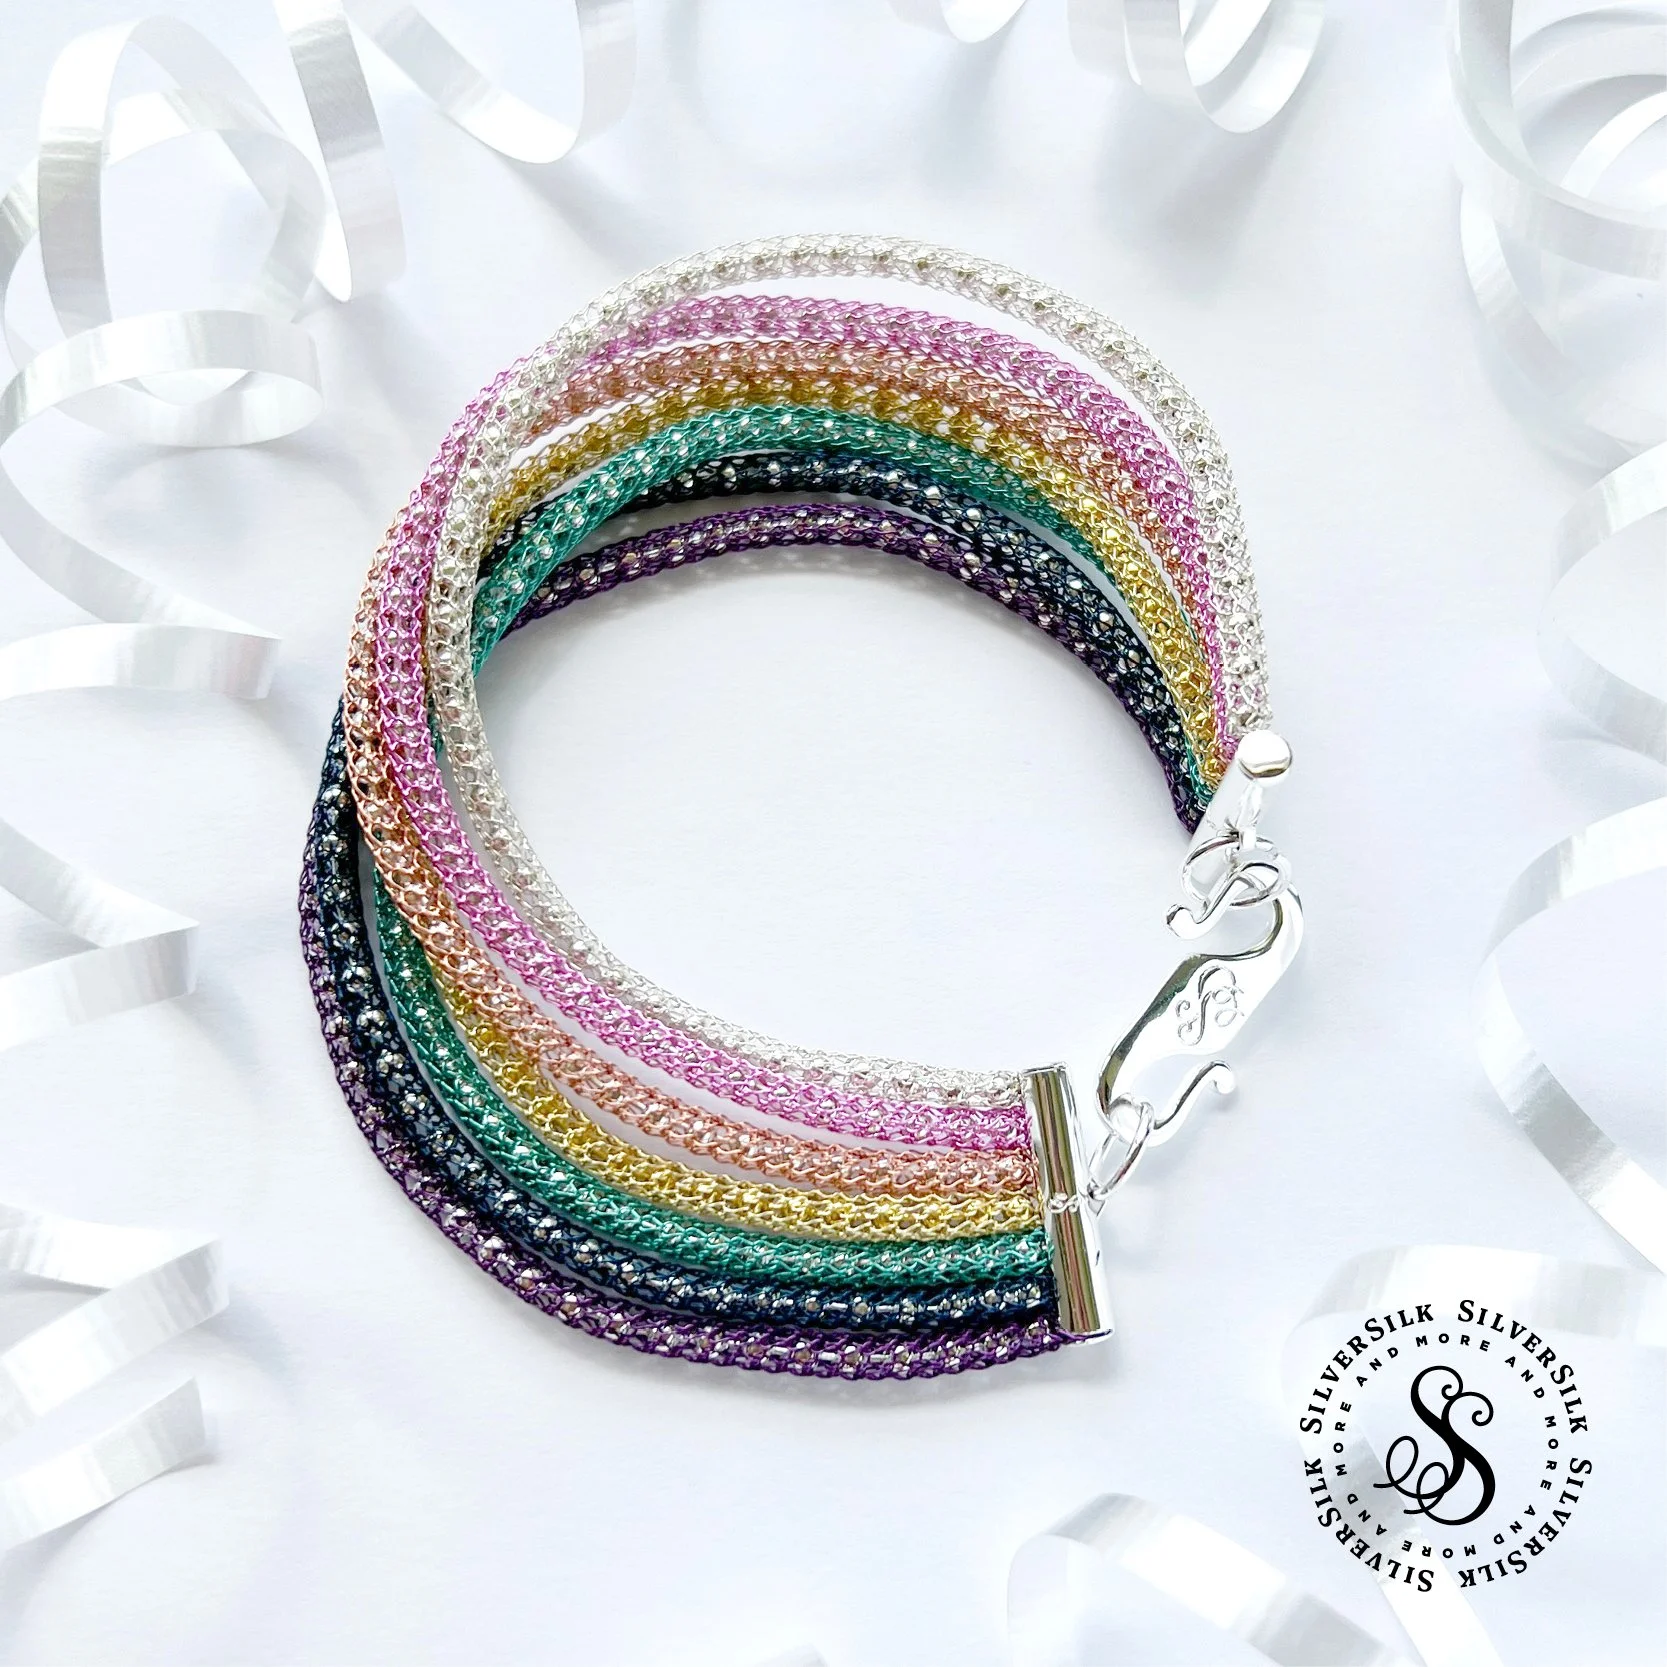
Who doesn’t love a bright rainbow. Every color of the spectrum is on full display with this gorgeous and easy-to-make bracelet in just minutes. This bracelet uses a variety of SilverSilk Capture Chain colors, neatly arranged into a stunning gradient rainbow, a symbol of happiness and hope. Follow along each step, in video form as well as written steps below, to recreate your own beautiful bracelet.
Before we dive into the magic, let's gather our tools and materials:
Tools:
Cutters (Lindström Tools): Essential for cutting knitted wire through the ball chain core.
Chain Nose Pliers (Wubbers Tools): Ideal for handling chains and closing the slide crimp with ease.
Materials:
7in • SilverSilk Silver Style Capture Chain
7in • SilverSilk Lotus Capture Chain
7in • SilverSilk Shimmering Copper Capture Chain
7in • SilverSilk Golden Capture Chain
7in • SilverSilk Seafoam Capture Chain
7in • SilverSilk River Capture Chain
7in • SilverSilk Purple Capture Chain
Rainbow Bracelet Video Tutorial
Rainbow Bracelet Written Step-By-Step Guide
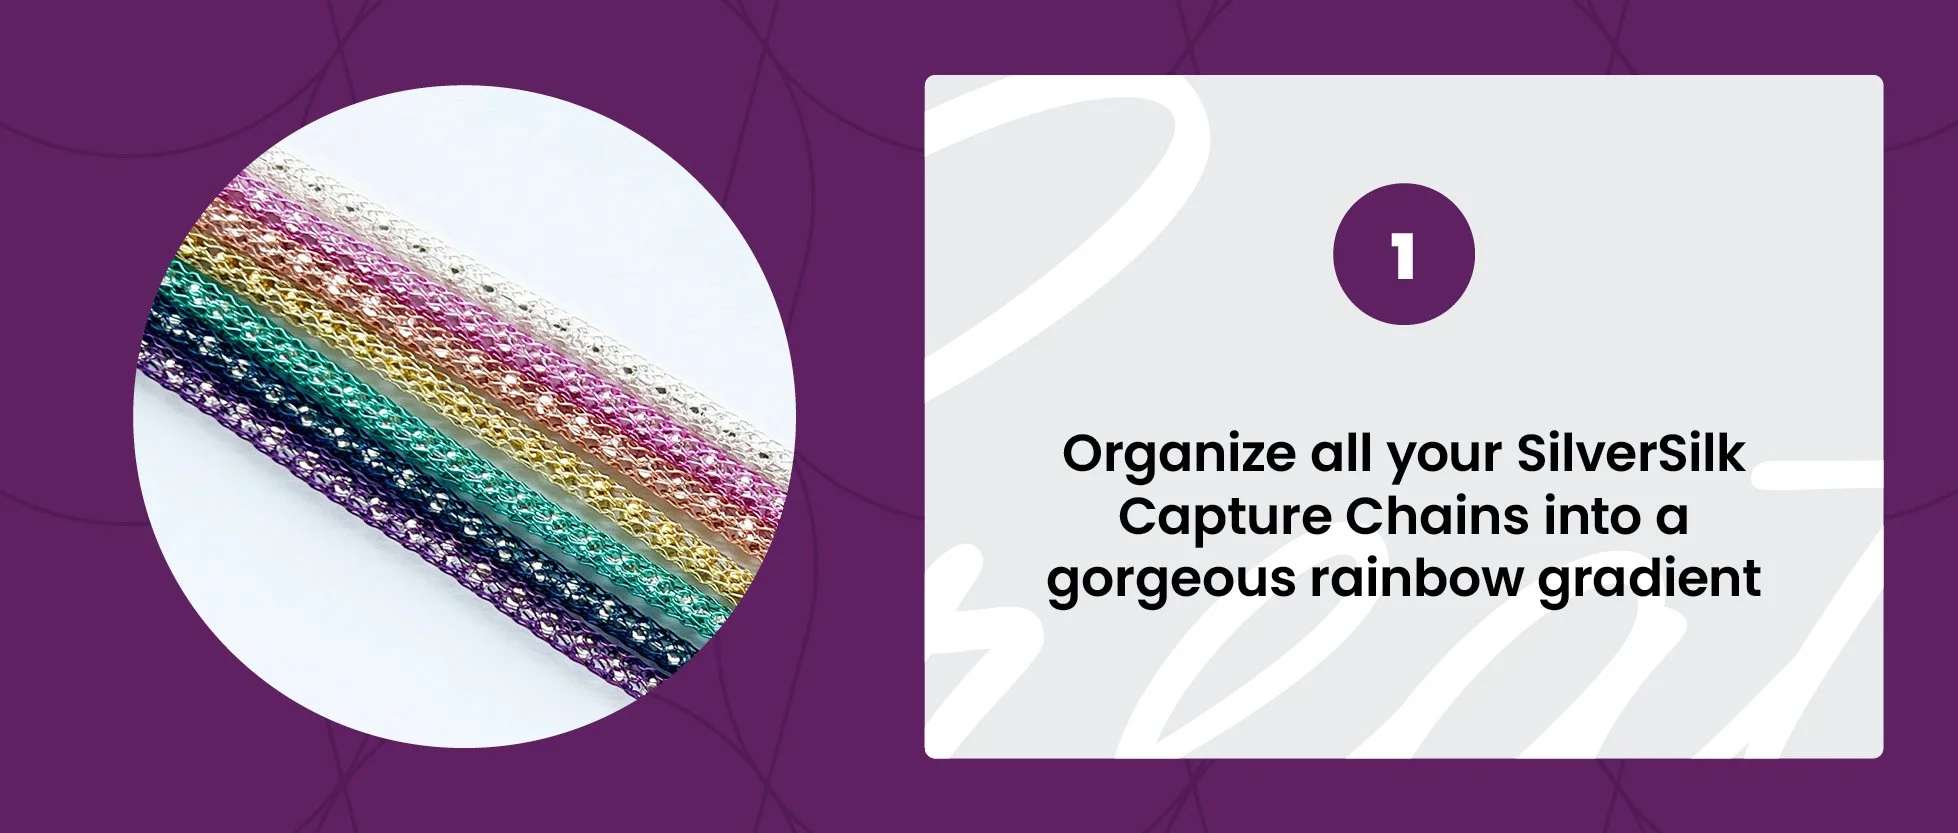
Step 1: Creating Your Rainbow
Grab seven colors of SilverSilk Capture Chain and lay them out in the following order: Purple, Riber, Sea Foam, Golden, Shimmering Copper, Lotus, and Silver Style. Capture Chain is perfect for this project because its ball chain core is extremely sturdy and adds a bright pop of silver to the design. You can read more about Capture Chain with this link.
Make sure the beads of the ball chain line up on one end. It’s okay if the other end isn’t perfectly even—we'll trim those chains to fit our bracelet later.

Step 2: Opening the Slide Crimp
Grab your chain nose pliers and one of the slide crimps. Our slide crimps and other findings are perfect for finishing any project, thanks to their extensive five-layer plating that ensures long-term tarnish resistance. You can read all about our custom findings with this link. The slide crimp should already be open on one end, but you'll need to widen the slit to make it easier to insert the chain. To do this, place the nose of your pliers into the round opening of the crimp and press against the plier handles to open the slit, making sure the gap is about 2mm wide.

Step 3: Preparing the Chain
Pick up the Purple Capture Chain to start. Look at the very end of the chain, where you'll see the last bead of the ball chain. Just before the second-to-last bead, you'll notice a small 1mm gap. Use your fingernail to press the knitted wire between these beads, creating a kink at the end of the chain.

Step 4: Inserting the Chain into the Slide Crimp
The kink you just made will make it easier to insert the knitted wire and bead of the ball chain into the slit of the Slide Crimp. If the wire gets caught on the edge of the Slide Crimp, simply wiggle the chain a little to help it slide in smoothly.

Step 5: Sliding the Chain
Slide the Capture Chain all the way into the Slide Crimp, ensuring there is no gap at the end. We need to use every millimeter of the Slide Crimp to fit all seven chains. Once the first chain is inserted, repeat the steps for the remaining chains, following the rainbow order.

Step 6: Closing the Crimp
Once all your chains are inserted, it's time to close the crimp. First, use the wide part of your chain nose pliers to gently squeeze the crimp slit back together from where you widened it. Then, either use the pliers to shut the flap over the chain channel or press it flat on your work surface to close it. Either method works to securely close the crimp.
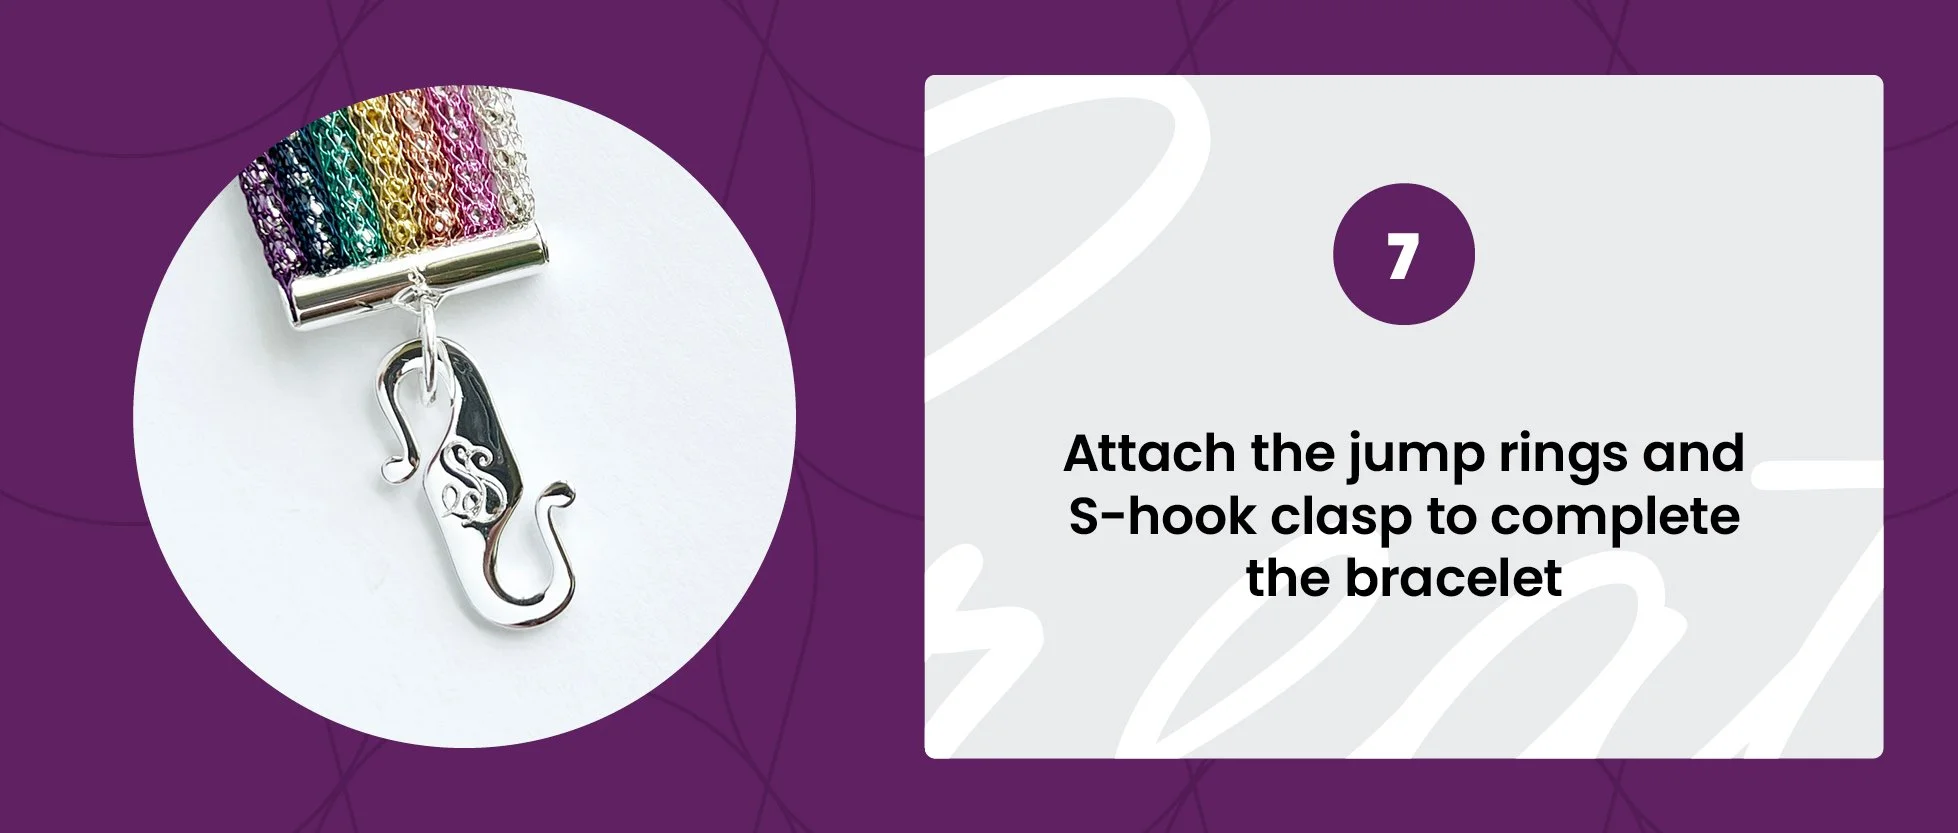
Step 7: Finishing Touches
The Slide Crimp has a small metal loop at the top for attaching findings. If the gap in the loop is too tight, use a beading awl to widen it for easier insertion of a jump ring. Attach a jump ring to each metal loop, and then connect the S-hook clasp to one of the jump rings to complete the bracelet. For an extra touch of flair, you can add a small tassel or bead bauble to one of the jump rings to make your bracelet even more sparkly and colorful. The possibilities are endless and entirely up to you.
Conclusion:
Whether you're a beginner looking to enhance your jewelry-making skills or an experienced crafter seeking new inspiration, this tutorial is perfect for you. We hope you'll watch the video and try making this colorful rainbow bracelet for yourself or for someone who needs a reminder that they are loved and valued. Be sure to check out the video tutorial and give it a thumbs up if you enjoyed it!
Follow us on social media for updates, behind-the-scenes, and more:
Youtube • Instagram • Facebook. • The SilverSilk Virtual Community
Get text notifications:
Text “hello” to +1 (918) 233-6387